
Buoyed by the success of the 20m 1/4 wave ground plane antenna (the blog post can be found here: https://m7isy.rootfs.net/2025/02/28/building-a-1-4-wave-ground-plane-for-20m/), I thought that it would be trivial to build one for 10m. Simply use the exact same design, but half the length of the wire used, as that would mean it would be the right length for a quarter wave for 10m… right? That would mean instead of cutting wire into 4 lengths of 5.13m, they should be 2.57m long. Happy with the calculations, I got to work, chopping up the wire and soldering the connections. I won’t go into too much detail here as to how we built that, as that was covered in my blog post on building the 20m 1/4 wave ground plane antenna, and we followed the exact same steps.
I was so overconfident in my plan, that I did not double check that the antenna was resonant for the right 10m frequencies. When I actually attempted to use it, I was in the middle of a park, hoping for a successful POTA activation. We erected the antenna and the mast, connected a nanoVNA to check SWR and realised we were way off, the frequency we were resonant at was too high. This was very unfortunate. If we were resonant at a frequency that was too low, we could have chopped a bit off. But now, we needed to lengthen the antenna, something that required more wire, heat shrink, and a soldering iron – none of which were available in the middle of a park!
Luckily, once I was home, attaching a bit of extra wire to the top of the antenna was trivial. You simply need to strip the insulator off the ends of the wire, solder them together, and cover the join in heat shrink. Bonus points when the colour of the heat shrink matches the colour of the antenna wire, so that the join is less obvious! This time, to be paranoid, I attached about a metre of extra wire, expecting to need to remove most of it during the tuning process.
Tuning the antenna meant setting it up again, and then chopping bits off until we brought the SWR down as low as possible. In order to reach the top of the antenna, we had to keep dismantling and re-extending the mast, which got a bit tedious after a while. We used a nanoVNA to measure the SWR, and it was really helpful to be able to see the SWR curve, to know when we were getting close to the minimum. As we got closer, the amount we chopped off got shorter and shorter, until we were not brave enough to take any more off! In the end, we had an SWR of 1:1.3, which we were satisfied with. I was also surprised, that we took off much less than I expected, so in hindsight, the paranoia of adding an extra metre of wire was necessary. I would guess that we removed somewhere between 10 – 15 cm.
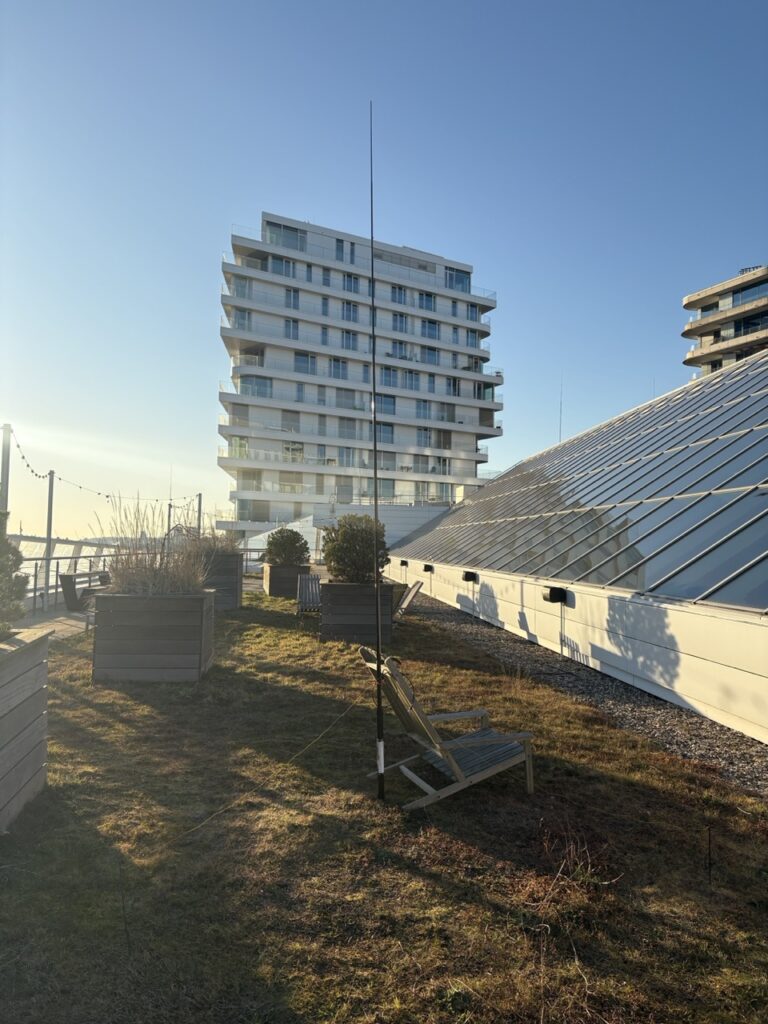
Now it was time to test it, we connected the Yaesu ft-818nd, and double checked that the SWR meter in the radio was also happy with our antenna (it was). I had forgotten to charge the Yaesu beforehand, so we were using SSB with 2.5 Watts. I did not have high expectations, and the setup was quite comical – the antenna mast was propped up by a garden chair, and the radiator was a length of wire with a solder join near the top. But, it worked! We managed to make a QSO!
Next time, I will plan to build an antenna with a bit of lee-way in the top, as it is much quicker to chop bits of wire off, then to extend it!