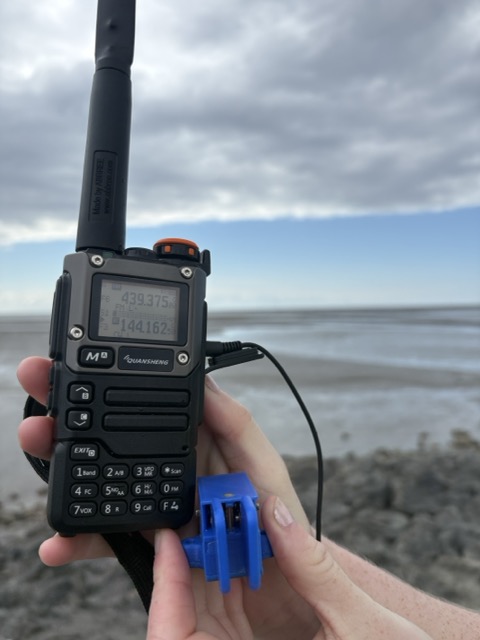
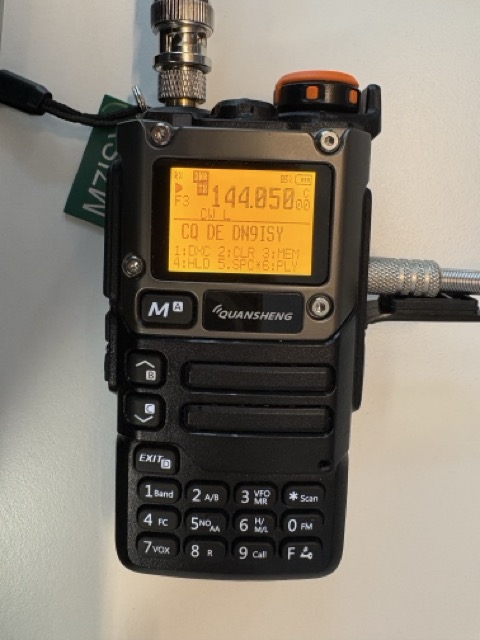
I am currently learning CW, and already have a compact paddle for my YAESU FT-818nd. I saw that the Quansheng UV-K5 / K6 can also transmit CW after the installation of a specific firmware, and will type the letters that you transmit. I wanted to use this to transmit into a dummy load, and practise writing out letters and numbers (and also to help stay motivated). This firmware, referred to as CEC-Firmware, can be found at this link: https://github.com/phdlee/uvk5cec/releases. At the time of this writing, the latest version is 0.3v.
As there are detailed tutorials available online for flashing firmware onto your radio, I won’t delve into that process here.
Unfortunately, the CW paddle that works perfectly with my FT-818nd did not function at all with the Quansheng. It seems that the pin configurations for a standard CW paddle differ significantly from those of a Quansheng CW paddle.
A typical CW paddle consists of two switches: one for a “DOT” and another for a “DASH.” It requires a three-conductor cable, with a specific conductor being shorted to a “common” terminal based on whether “DOT” or “DASH” is engaged:
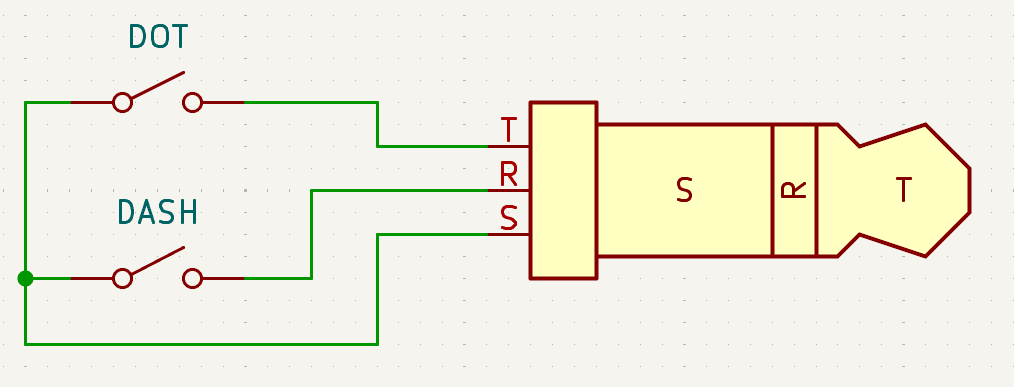
In contrast, the Quansheng paddle requires a different wiring setup:
To create your adapter cable, I sourced a pre-made 3.5mm headphone jack extension cable for around €2. Although mine had four pins rather than three, this distinction did not cause any issues. I underestimated the fragility of the individual strands in the wire, which made soldering quite challenging without risking breakage. If you’re comfortable with precise soldering, repurposing a pre-made extension might save you some money compared to purchasing wire and connectors separately. However, if I had to rebuild this cable, I would opt for separate purchases and utilize thicker wires.
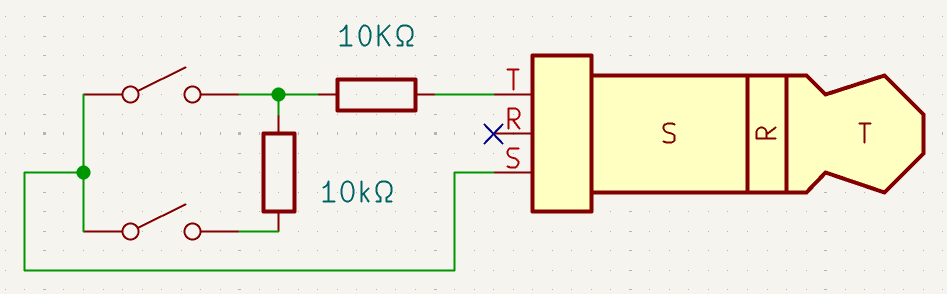
I cut the extension cable in half since it was too delicate for solo strand operation, and then soldered in two resistors, resulting in a setup that looked like this:
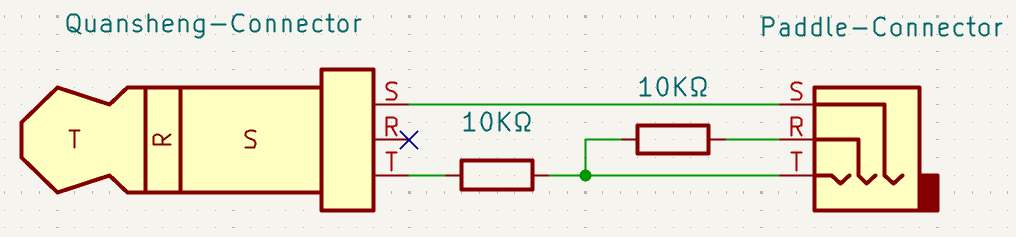
Before you make a permanent connection for R and T on the paddle connector, double-check that the DIT/DOT and DAH/DASH pins are correctly aligned with their respective sides of the paddle. If you need to swap the connections for DIT and DAH, simply interchange the R and T connections on the paddle side.
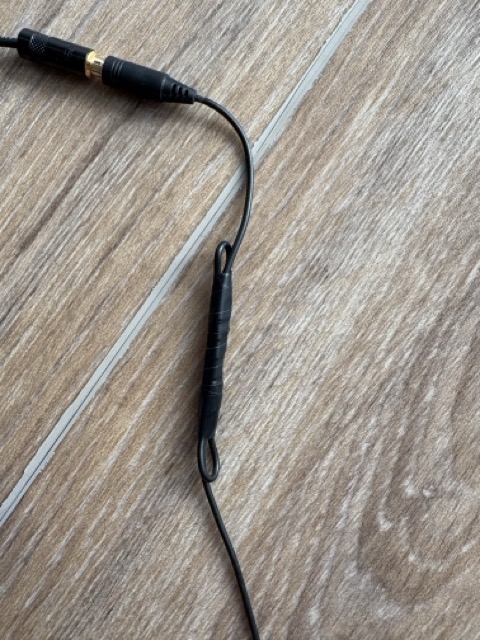
By using 10k-Ohm resistors, adjusting anything in the radio’s firmware should not be necessary, and everything should work seamlessly right from the start. Finally, I folded a loop into the cable and used electrical tape for strain relief:
The whole cable, plus the CW paddle looks like this:
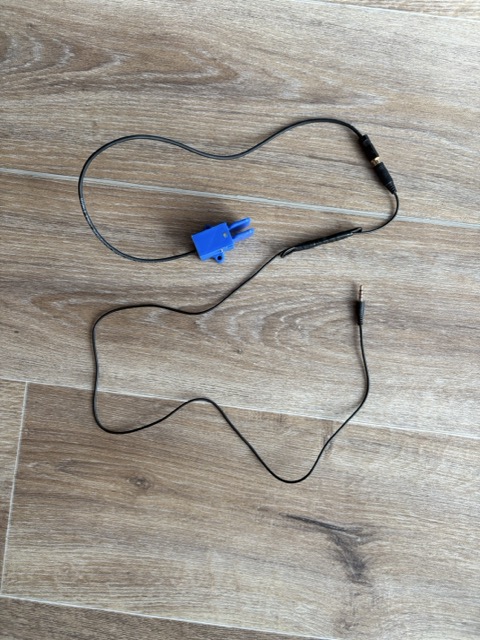
Its great fun to practise with the paddle and to see what you are typing. The paddle and cable are also very easy to bring with you, and use when you are out and about.